
I. Understanding Heat Shrink Tool Holders
1. What is a Heat Shrink Tool Holder?
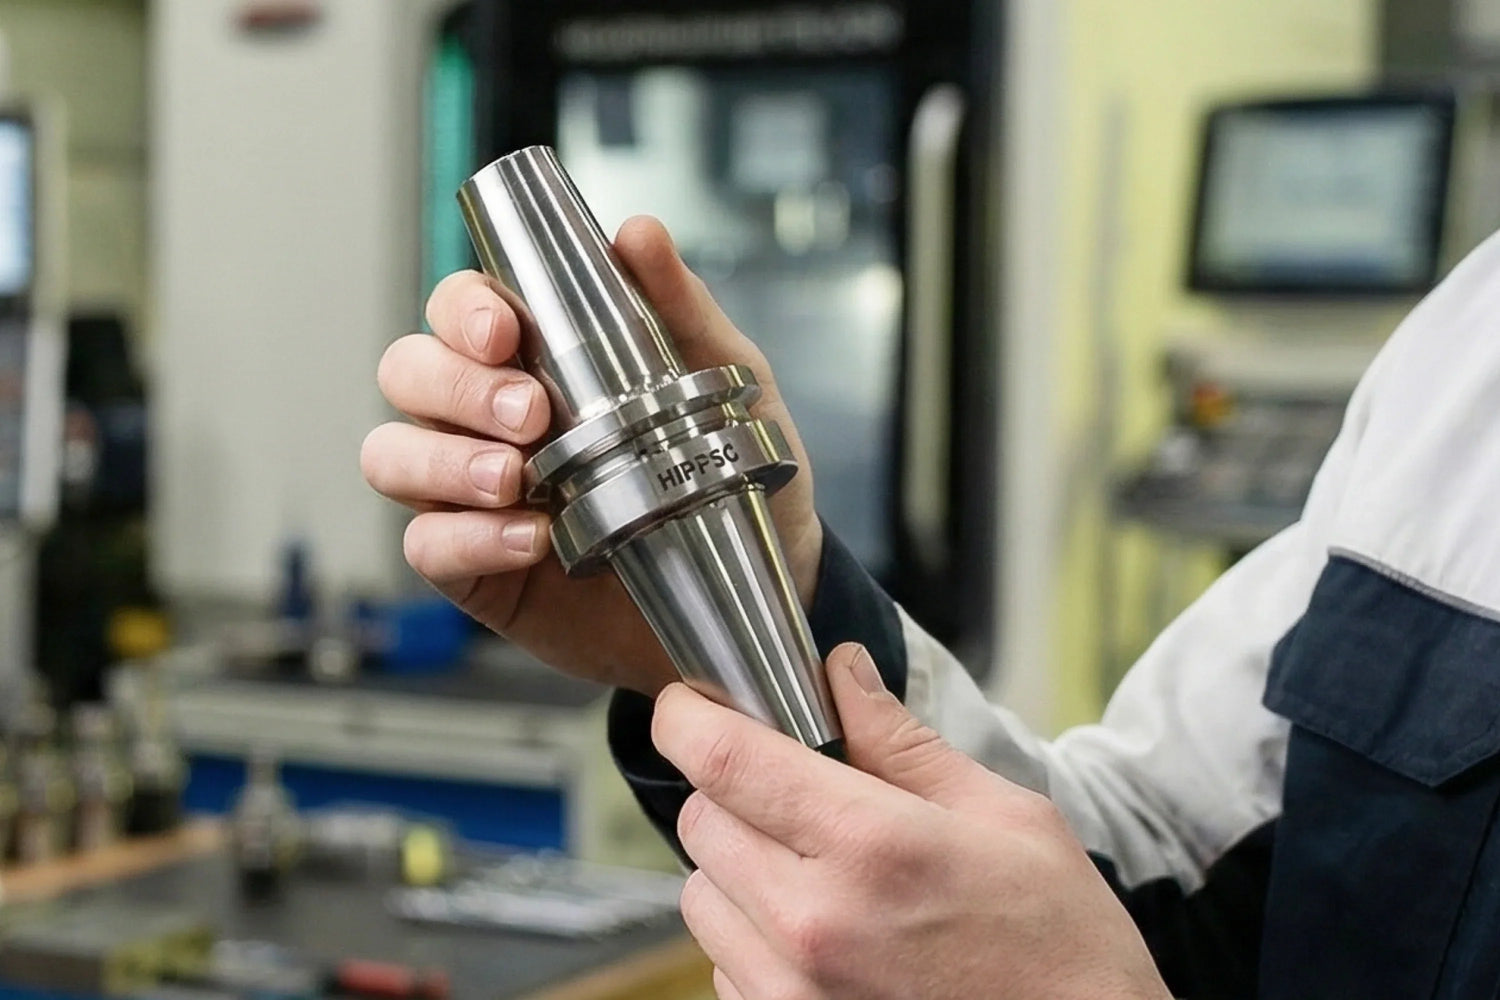
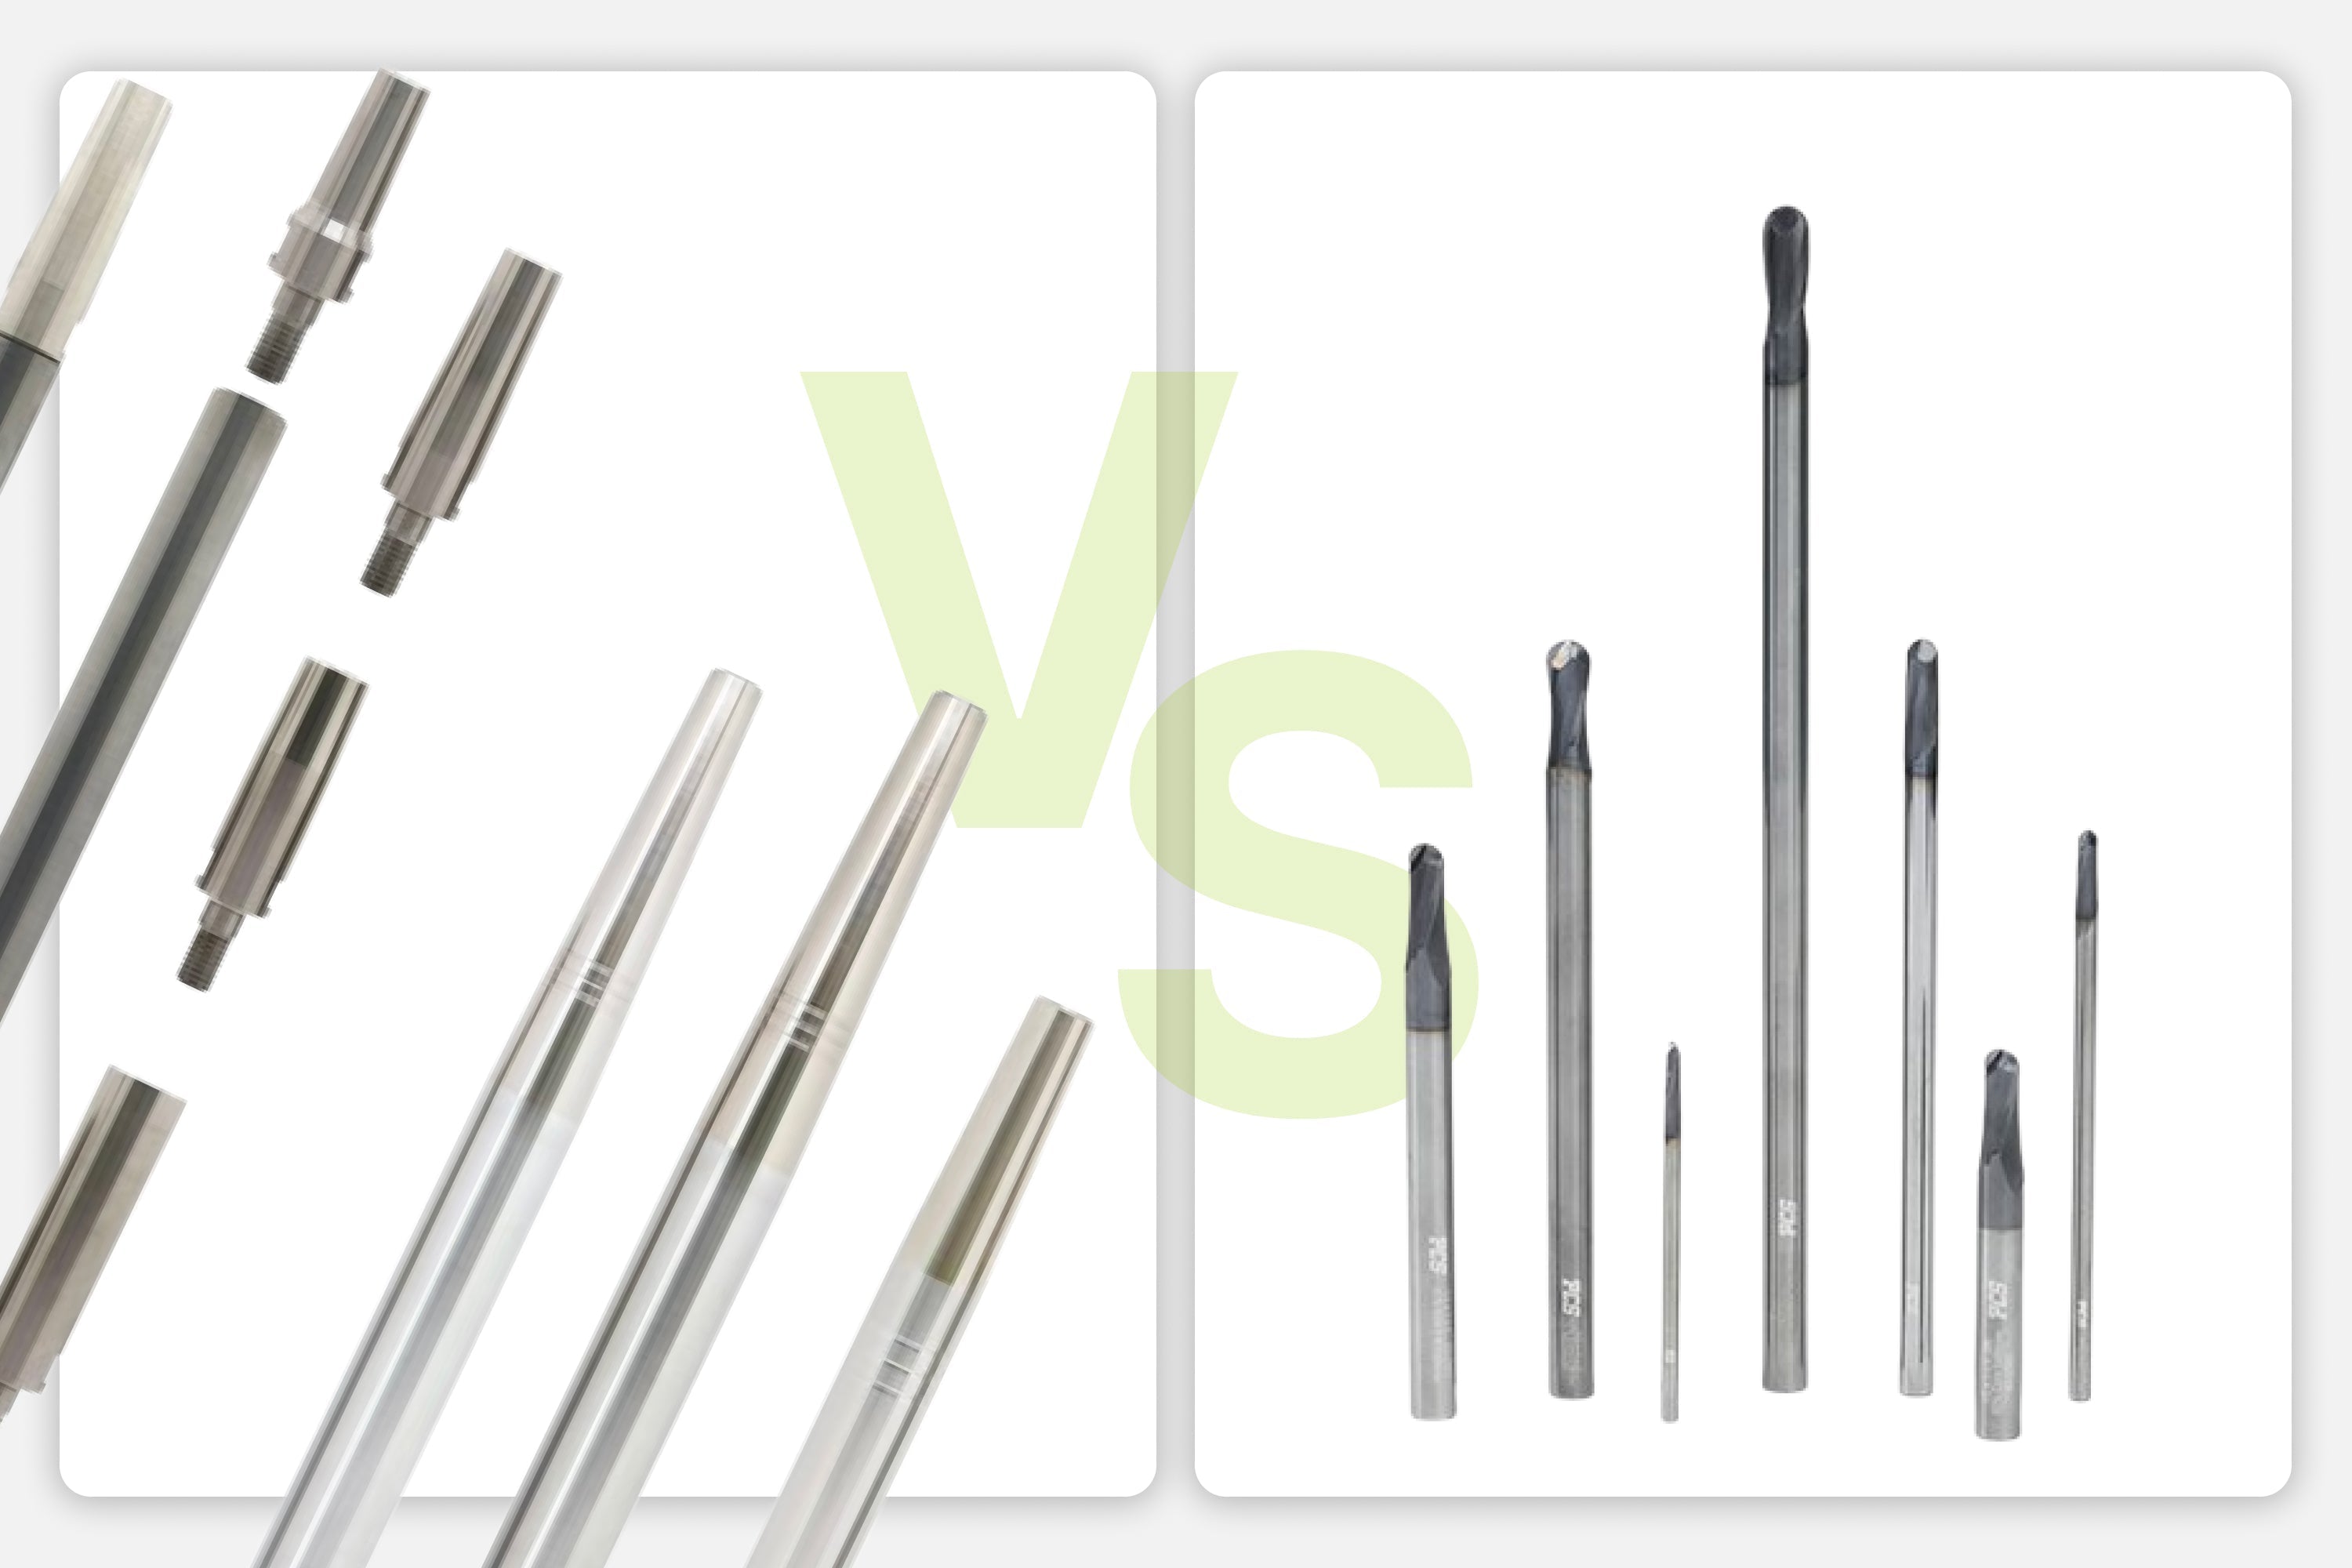
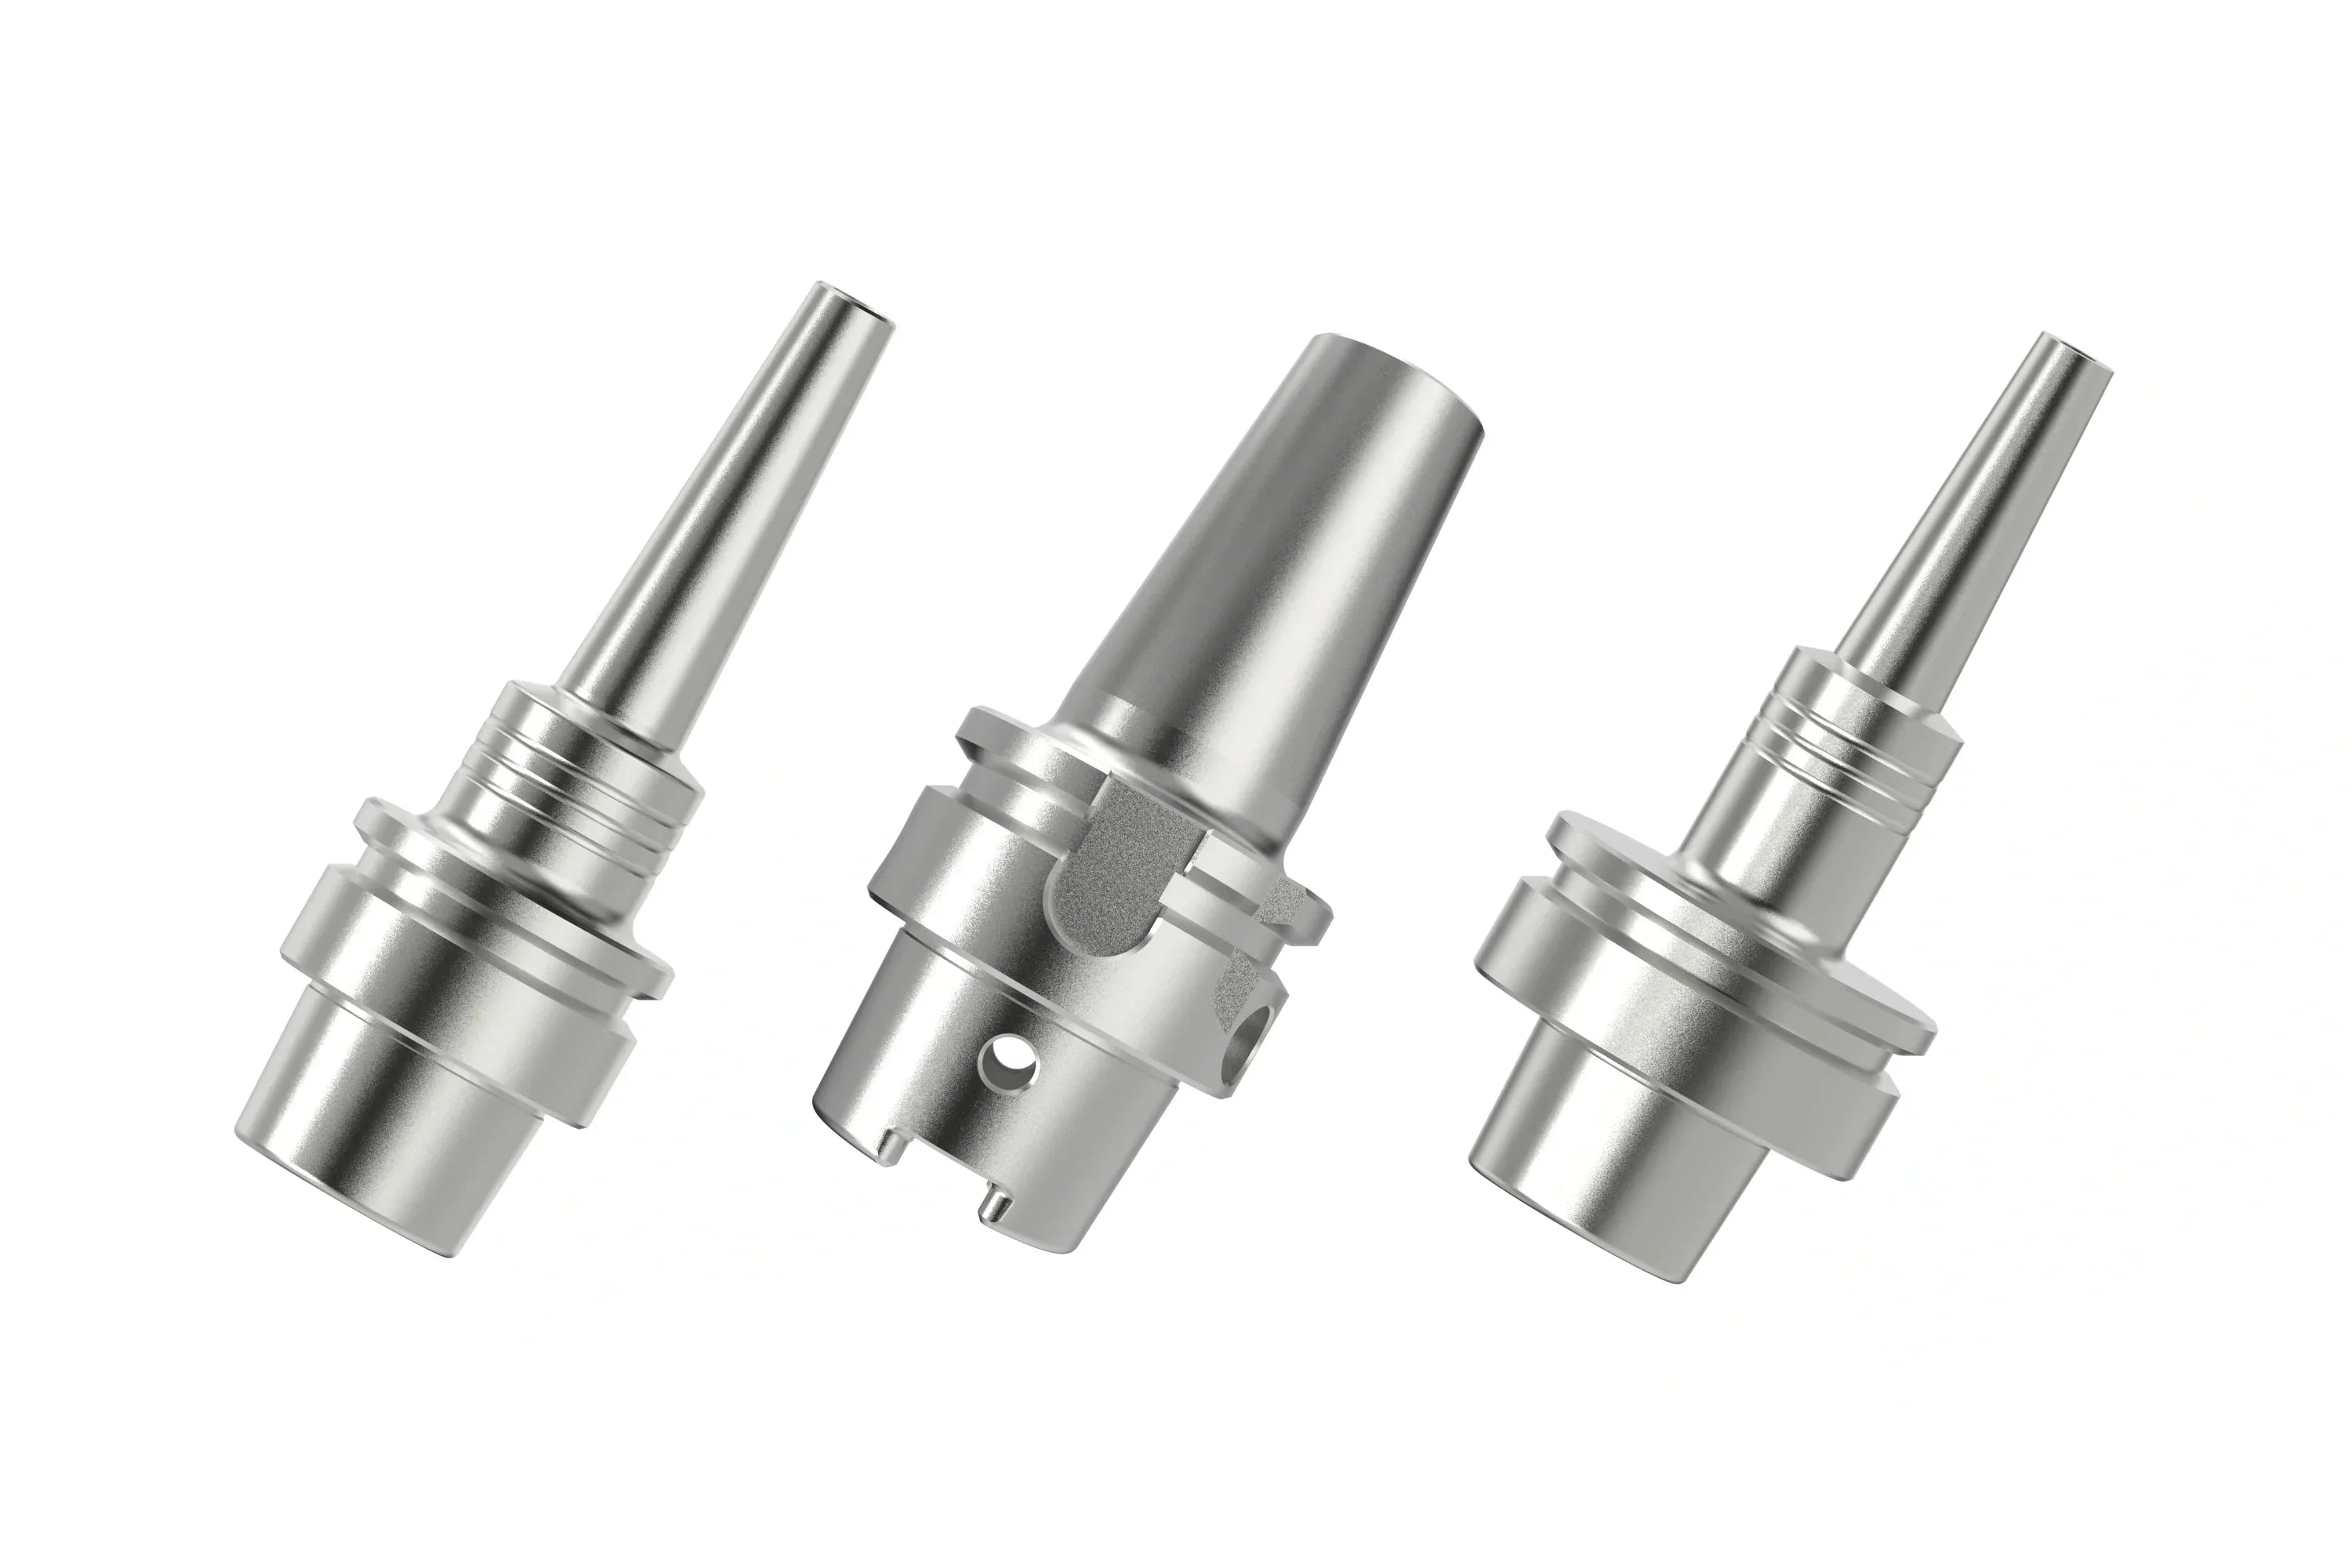
A heat shrink tool holder, also known as a thermal shrink-fit holder, is a high-precision tool holding system that uses thermal expansion and contraction to clamp a cutting tool. The clamping bore diameter is manufactured slightly smaller than the tool shank.
When heated, the bore expands enough to insert the tool. When cooled, it contracts and generates strong, uniform clamping force.
2. The Thermal Mounting Principle (Shrink Fit)
The shrink fit process follows a simple cycle: heat → insert → cool.
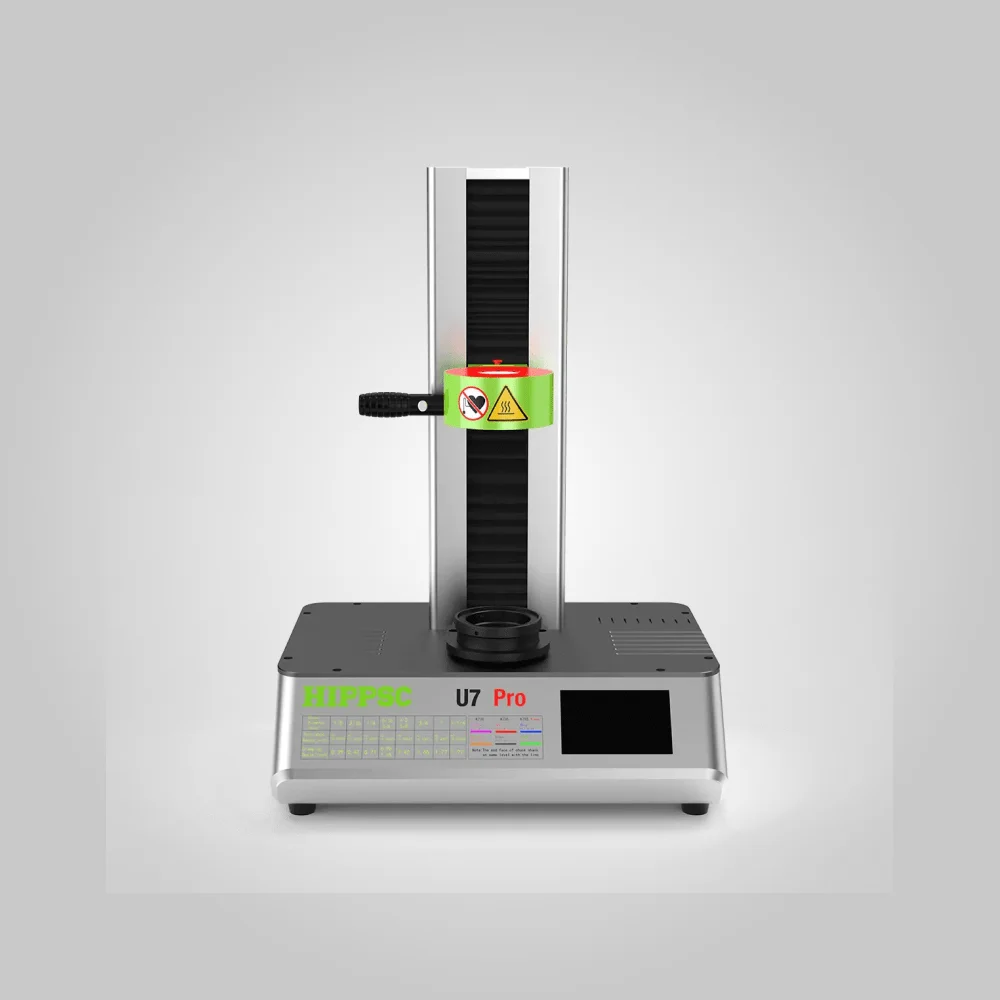
- Heating: The clamping section of the holder is heated using induction heating equipment or a shrink fit machine. At roughly 300–400°C (572–752°F), the bore expands.
- Insertion: While expanded, the cutting tool is quickly inserted and positioned against the locating surface.
- Cooling: Once heating stops, the holder cools and contracts, gripping the tool shank with strong radial clamping force.
3. Core Advantages
-
High Clamping Force & High Torque Capacity
Prevents tool pull-out during heavy machining. -
Excellent Runout Accuracy
Runout is typically within 3 μm, improving surface finish and tool life. -
Superior Dynamic Balance
The symmetrical design with no moving parts makes it ideal for high-speed machining.
II. Common Problems and Solutions
Why does the tool install crooked after heat shrinking?
Excessive runout after shrink fitting usually comes from the following factors:
-
Uneven Cooling
If one side cools faster than the other, the holder may contract unevenly and push the tool off center. -
Gravity Effect
If the holder is not kept vertical during cooling, gravity can tilt the tool slightly. -
Improper Insertion
Inserting the tool at an angle or with excessive force may cause it to hit the bore wall and misalign.
Why does clamping force decrease after many shrink cycles?
-
Overheating
Repeated heating above recommended temperature can soften the material and permanently enlarge the clamping bore. -
Residue Buildup
Oil, chips, or debris inside the bore can carbonize during heating, preventing full contraction.
III. Benefits of Standardized Shrink Fit Procedures
-
Longer Tool Holder and Tool Life
Proper temperature control prevents material degradation and allows thousands of shrink cycles. -
Better Machining Accuracy
Low runout improves chip load distribution and surface finish. -
Higher Productivity
Strong clamping allows more aggressive cutting parameters and reduces risk of tool pull-out.
IV. Step-by-Step Shrink Fit Procedure
Step 1: Cleaning
Clean the tool holder bore and tool shank using a lint-free cloth and cleaning agent. Inspect for burrs, scratches, or rust.
If contaminants exist, gently remove them using fine sandpaper (1000 grit or finer).
Step 2: Set Correct Heating Parameters
Follow the heating time and temperature specified by the tool holder manufacturer.
Only heat the clamping zone using an induction coil. Avoid heating the entire holder.
Step 3: Insert the Tool
After heating, use dedicated pliers to handle the tool and insert it smoothly with a slight twist until seated.
If resistance occurs, remove the tool and check for debris or insufficient heating.
Step 4: Cooling
-
Natural Cooling
Place the holder on a stand and allow it to cool to room temperature. -
Forced Cooling
Some systems use compressed air or dedicated tool holder coolers.
Keep the holder vertical during cooling to allow gravity to help center the tool.
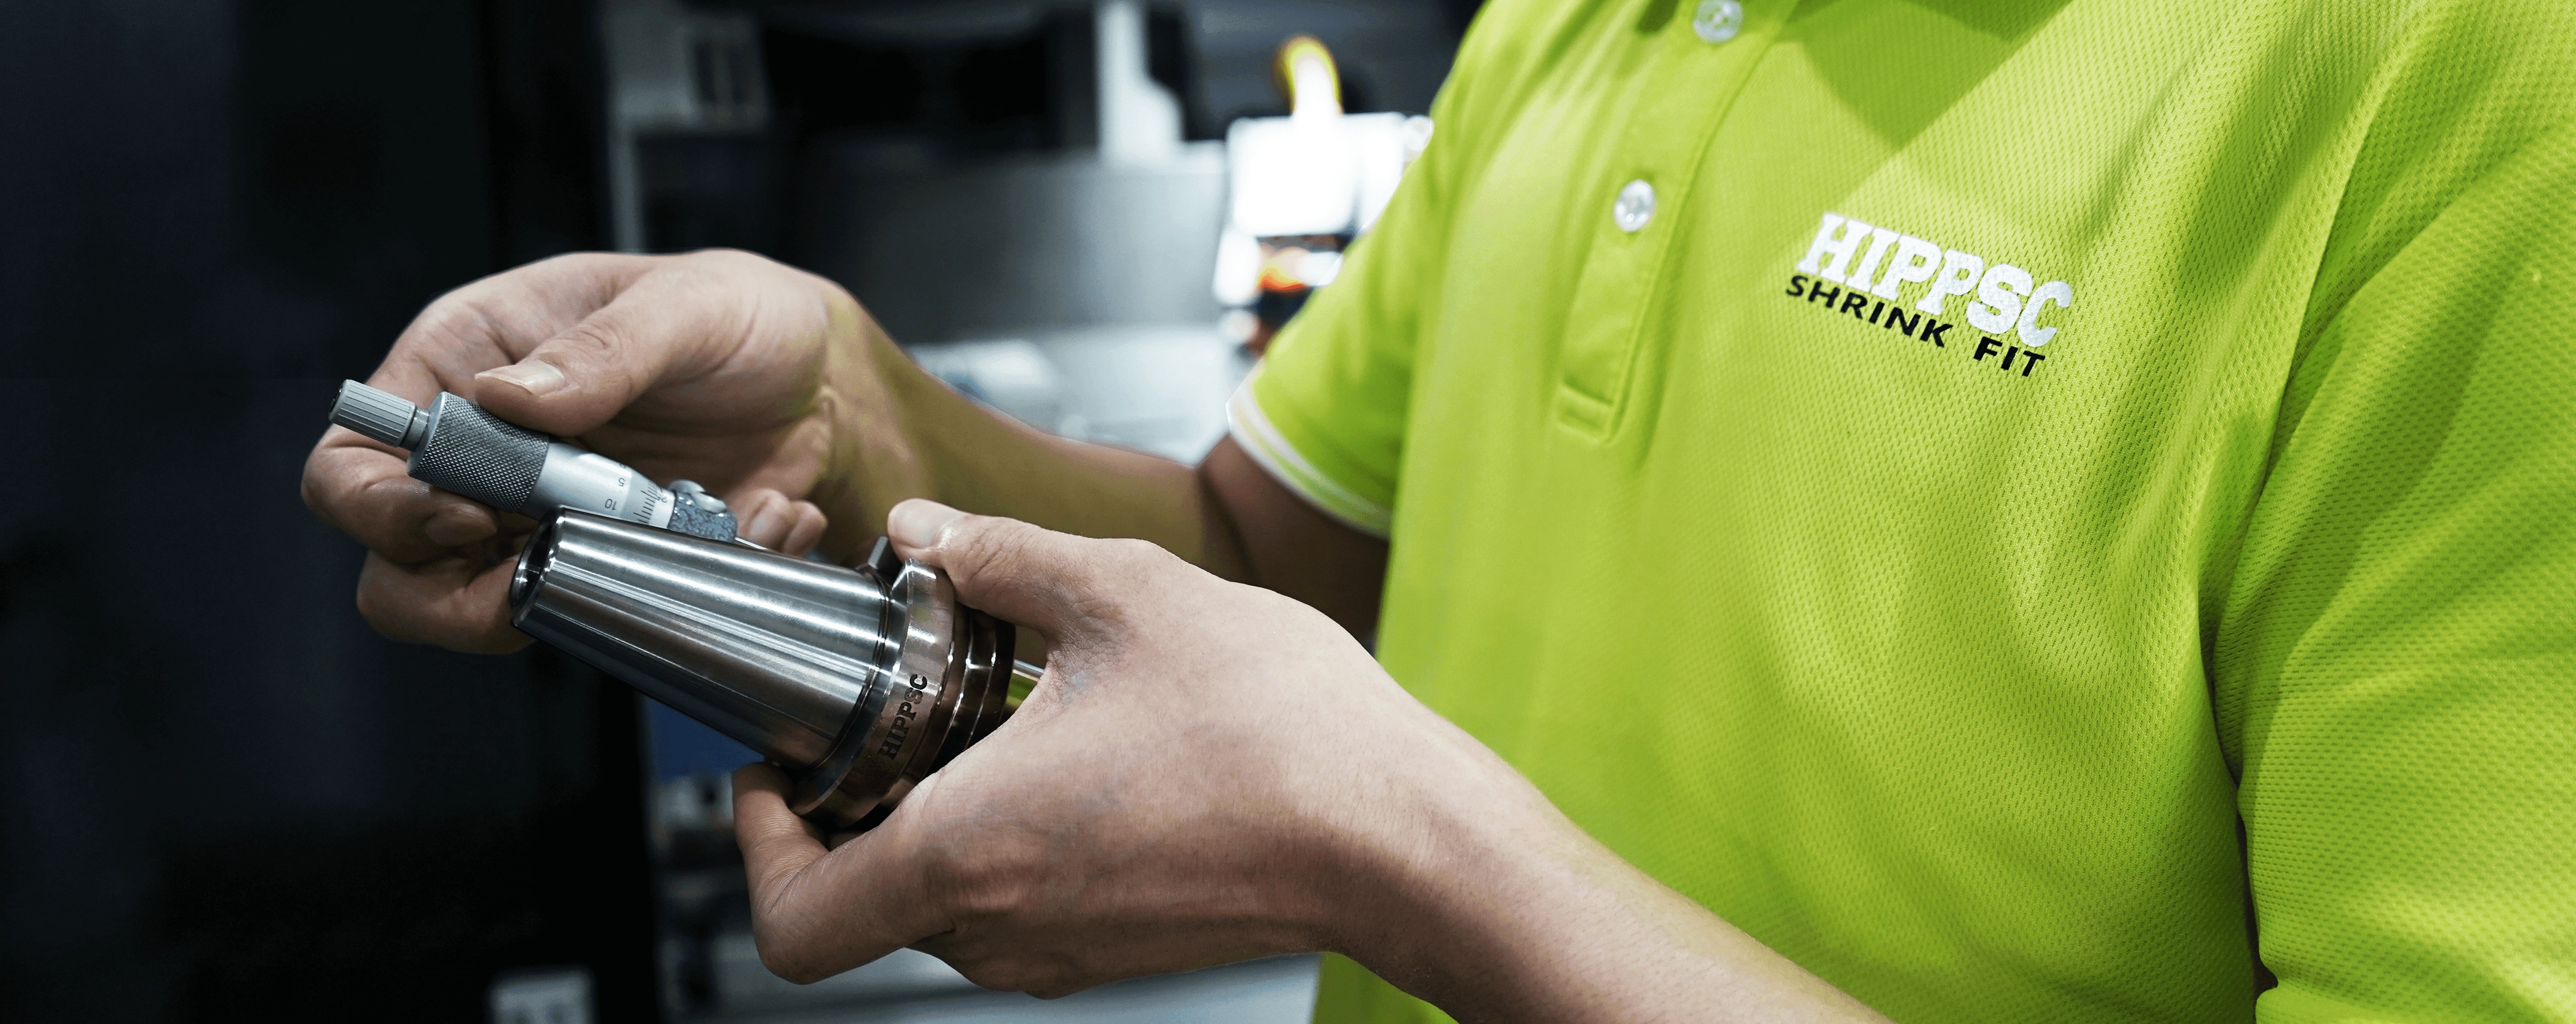
Step 5: Runout Inspection
After cooling, measure radial runout using a dial indicator at a distance of about 3–4× the tool diameter.
If runout exceeds specification, reheat and reinstall the tool or inspect the holder for damage.
Leave a comment
All comments are moderated before being published.
This site is protected by hCaptcha and the hCaptcha Privacy Policy and Terms of Service apply.